In recent years, eyelash extensions have grown in popularity as a convenient way to achieve longer and fuller lashes. However, there may come a time when you decide to take off your eyelash extensions. Whether they've become uncomfortable or damaged, or you just want to give your natural lashes a break, proper removal is critical to avoid any potential risks or damage.
Eyelash extensions are synthetic fibers that are carefully attached to your natural lashes with a specialized adhesive. They provide a temporary boost to your lashes, making them appear fuller and more dramatic. However
Gather All Of The Necessary Tools And Products

Before you begin the removal process, make sure you have the right tools and products on hand.
- Eyelash Extension Remover: Specially formulated solution to dissolve adhesive, removing lash extensions effortlessly.
- Spoolie or Mascara Wand: To brush and separate lashes during removal.
- Cotton Pads or Swabs: Apply remover and clean any residue.
- Makeup Remover: Cleanse lashes, removing leftover adhesive.
- Lash Serum or Conditioner: Nourish and moisturize post-removal for lash health and growth.
Prep Your Lashes and Eyes
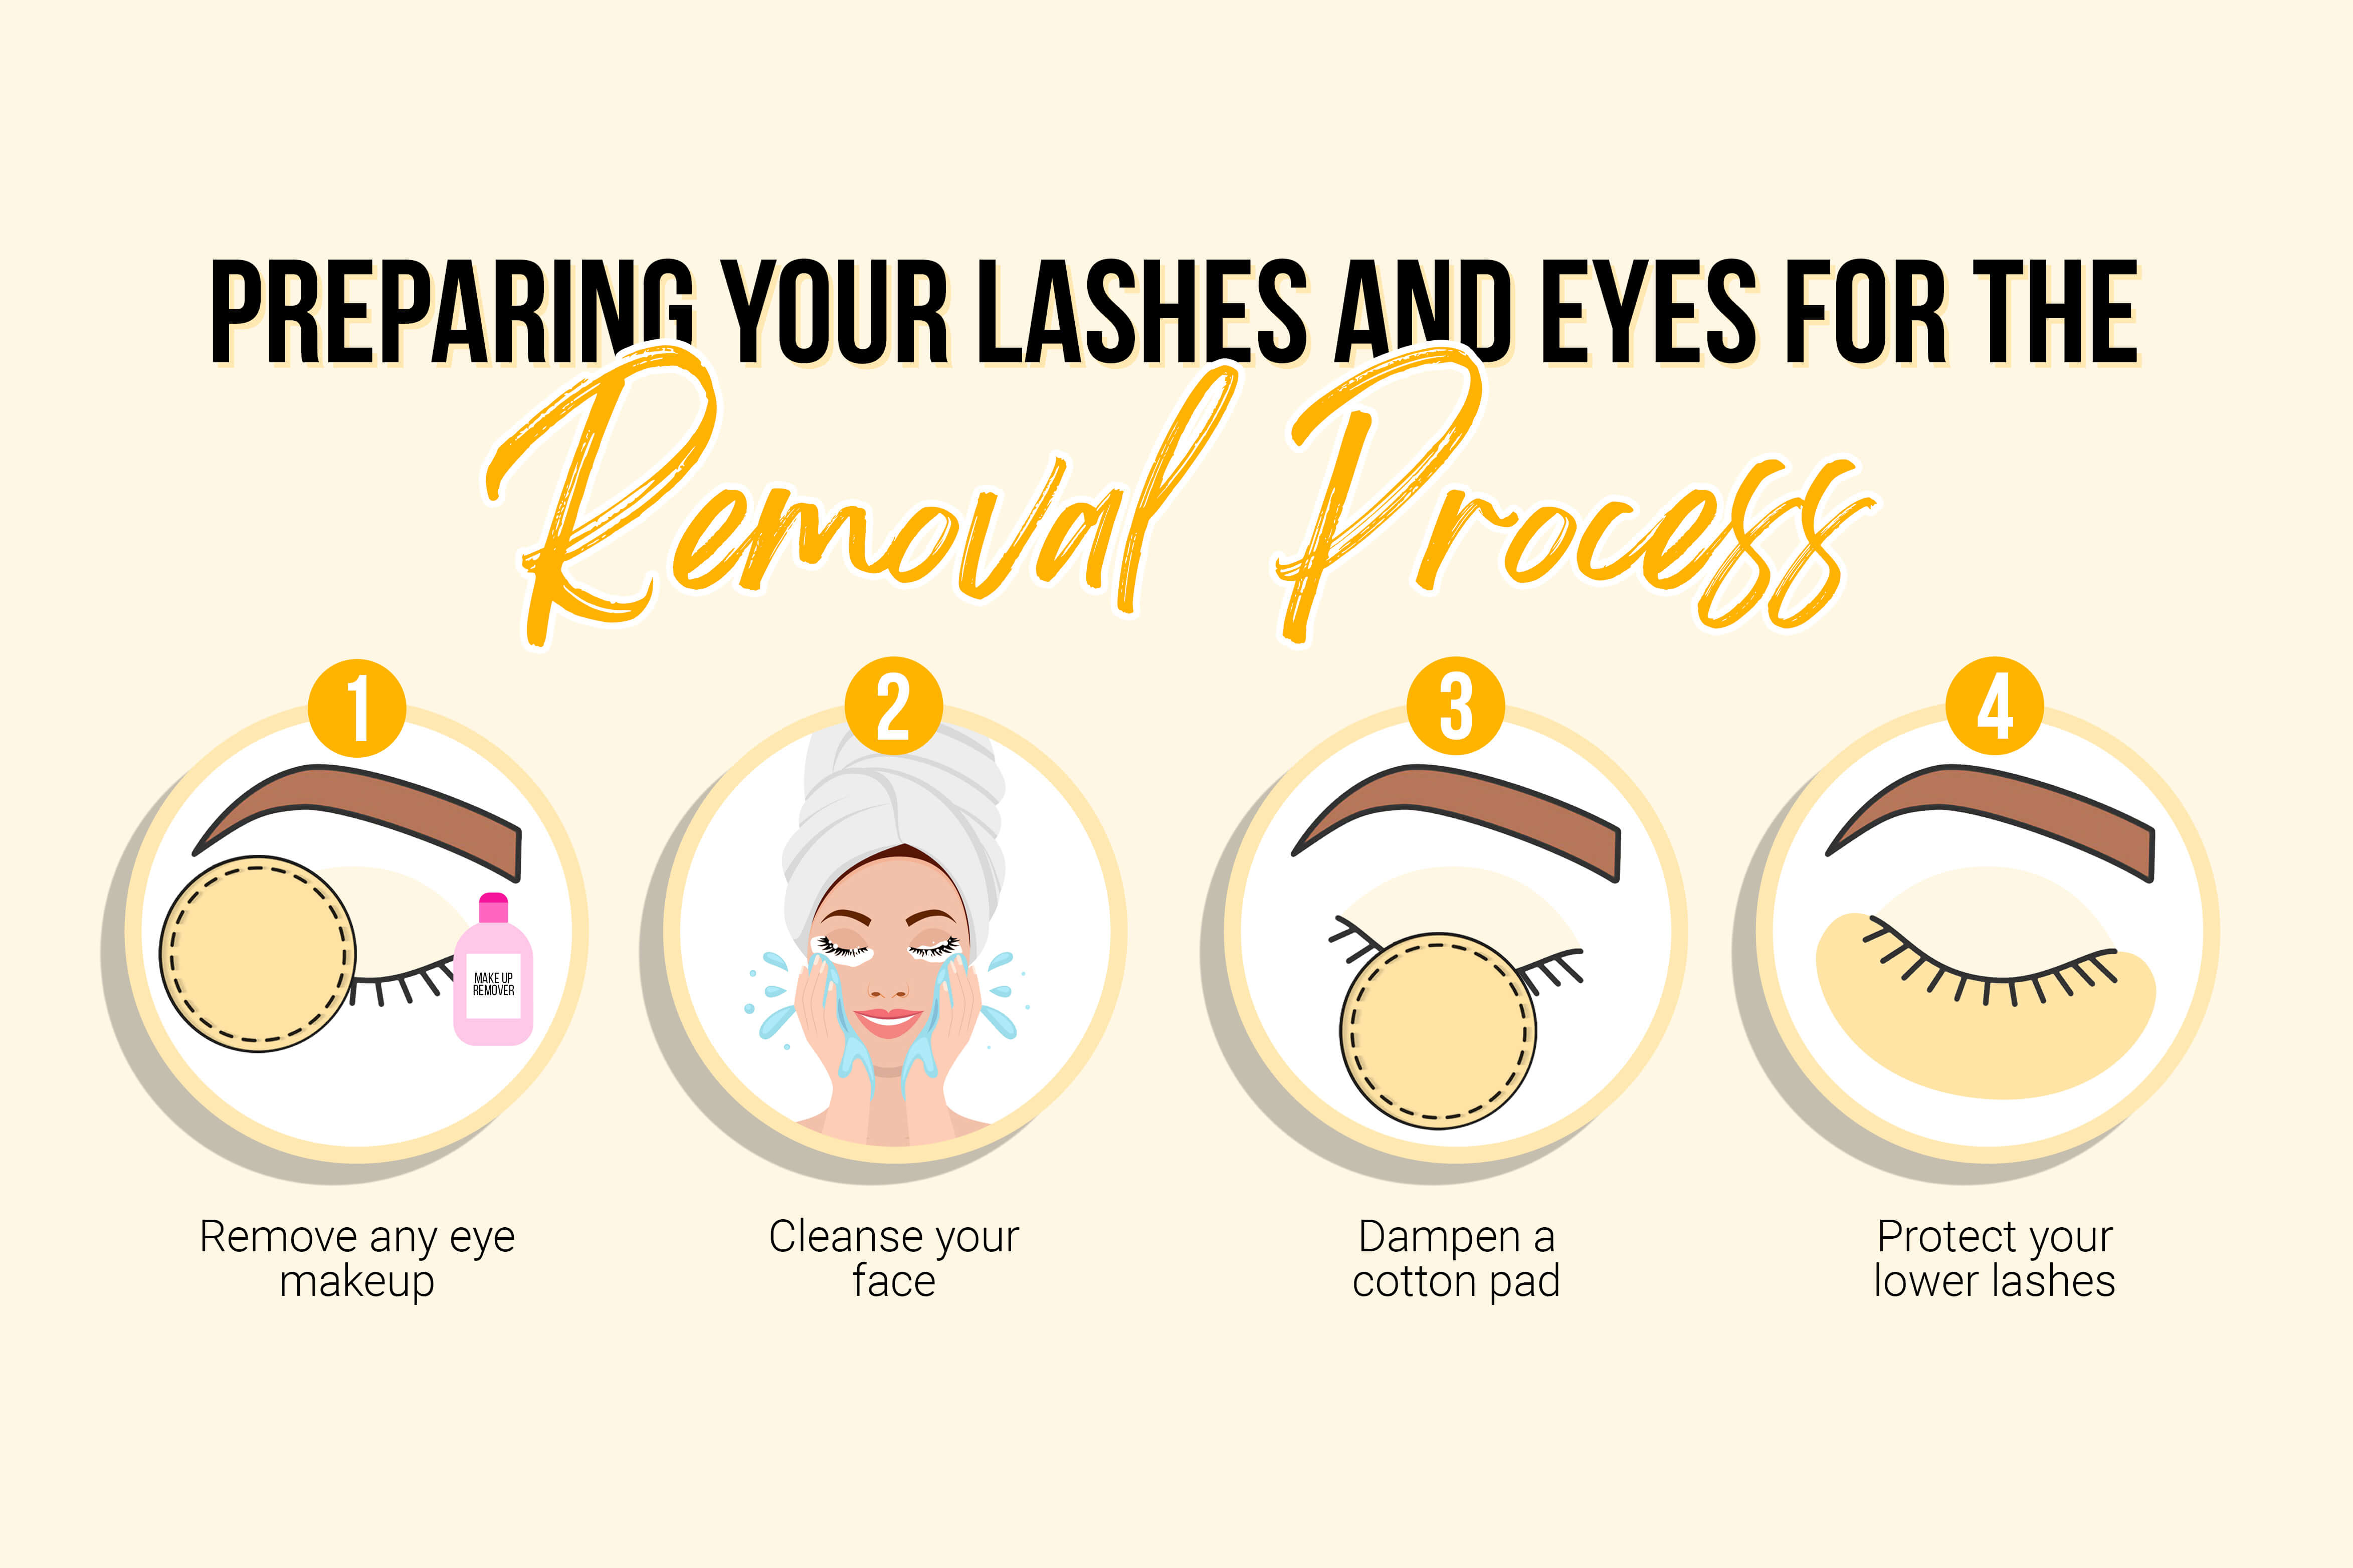
Before you begin removing your eyelash extensions, make sure to properly prepare your lashes and eyes. Take the following steps to ensure a safe and effective removal process:
- Remove eye makeup: Gently use makeup remover to eliminate mascara and eyeliner, avoiding lash damage.
- Cleanse face: Thoroughly cleanse, including the eye area, to remove oils and dirt.
- Dampen cotton pad: Use a warm water-dampened cotton pad to loosen adhesive gently.
- Makeup remover: This will be used to cleanse your lashes and remove any remaining adhesive or residue.
- Protect lower lashes: Safeguard lower lashes with micropore tape or a lash guard to prevent tangling or accidental removal.
Apply The Eyelash Extension Remover

Apply eyelash extension remover using a microswab or clean spoolie. Be cautious not to get it in your eyes. Let it sit for 1 to 7 minutes to dissolve the adhesive.
Be gentle, precise, and patient. Consider Forabeli's Pink Gel Remover for a highly effective and gentle option to bring your natural lashes back into the spotlight.
Gently Remove The Extensions

After the adhesive has dissolved, use a clean spoolie or your fingertips to gently brush or slide the extensions off your natural lashes. Be patient and don't pull or tug on your lashes. If any extensions are stubborn, apply a bit more remover and wait a few minutes before attempting to remove them again.
Cleanse And Moisturize Your Lashes

Gently cleanse each eye with a mild makeup remover after removing extensions to eliminate residue without rubbing or pulling. Finish by applying a nourishing lash serum for healthier, growing lashes.
Dos and Don'ts for Safe Eyelash Extension Removal
Starting the journey of removing your eyelash extensions at home can be both empowering and daunting. While the allure of DIY beauty treatments is undeniable, eyelash extension removal should be approached with caution to avoid potential mishaps. In this guide, we'll go over the essential do's and don'ts for a safe and successful eyelash extension removal procedure.

DO'S
- Research and Choose the Right Products: Select a top-tier lash adhesive remover for gentle care. Research reputable brands for a safe and effective removal process.
- Patch Test New Products: Patch test new products, applying a small amount of adhesive remover to your hand to check for allergic reactions before use near your eyes.
- Gentle and Gradual Application: Apply adhesive remover gently with a clean cotton swab, using controlled motions to avoid tugging on natural lashes and reduce the risk of irritation.
- Take Your Time: Allow the adhesive remover time to break down lash glue, avoiding rushed actions that may harm natural lashes.
- Cleanse and Moisturize Afterwards: Cleanse eyes with a gentle, oil-free cleanser post-eyelash extension removal. Follow with a soothing moisturizer for natural lashes and surrounding skin.

DONT'S
- Avoid Harsh Chemicals: Avoid using harsh chemicals, such as acetone or nail polish remover, for eyelash removal. These substances can irritate your eyes and damage your natural lashes.
- Don't Pull or Force Removal: Avoid pulling or tugging on lashes during extension removal to prevent strain, breakage, or damage. If resistance occurs, reapply the adhesive remover and wait for it to work.
- Say No to DIY Mixtures: Skip DIY lash removal; choose professional adhesive removers designed for safety during eyelash extension removal.
- Don't Skip the Patch Test: Always do patch tests, especially with new products or brands, to ensure safe removal without allergic reactions.
Aftercare Tips for Maintaining Healthy Natural Lashes After Removal

After removing your eyelash extensions, it's important to give your natural lashes some extra care and attention to promote their health and growth. Here are some aftercare tips to follow:
- Avoid mascara for a few days: Give your natural lashes a break from mascara for a few days after removing the extensions. This allows them to breathe and recover from the adhesive.
- Be gentle with your lashes: Avoid rubbing or pulling on your lashes, as this can cause damage. Be gentle when cleansing your lashes and avoid using harsh or oil-based products that can weaken your lashes.
- Use a lash serum or conditioner: Apply a nourishing lash serum or conditioner to your natural lashes to promote their health and growth. These products can help strengthen and condition your lashes, ensuring they stay healthy and strong.
- Avoid excessive heat or steam: Avoid exposing your lashes to excessive heat or steam, as it can weaken the lashes and cause them to become brittle. Be cautious when using hot tools or spending time in saunas or steam baths.
By following these aftercare tips, you can maintain healthy and beautiful natural lashes after removing your eyelash extensions.
Remember, beautiful lashes are only a blink away! With this guide and a little care, you can embrace your natural beauty and confidently wear those luscious lashes. So go forth, master the process of lash extension removal, and enjoy having gorgeous, natural eyes!
You only get one set of natural lashes, so treat them with care! Choose Forabeli Pink Gel Eyelash Remover for a safe and gentle removal experience. Shop now and unlock the radiance that awaits. It's time to embrace your natural beauty – for a beautiful life.